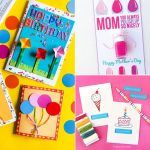
- 30 Easy Homemade Card Making Ideas
- 30 DIY Dog Toys That Anyone Can Make
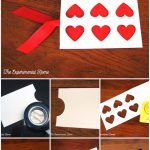
- DIY Valentine Photo Card with Envelope
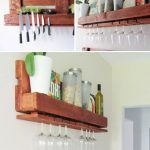
- Pallet Shelves for Kitchen (DIY Tutorial)
- DIY Mid Century Modern Coffee Table Tutorial
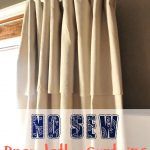
- DIY No-Sew Drop Cloth Curtains
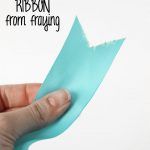
- How To Keep Ribbon From Fraying
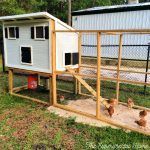
- How To Build A Chicken Coop With Run
- Blueberry Cupcakes Recipe
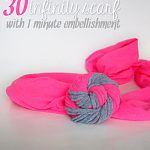
- How To Make An Infinity Scarf – In Just 30 Second
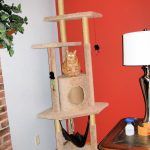
- DIY Cat Tree with Step by Step Plan
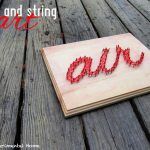
- DIY String Art Tutorial for Beginners
![]()